Where to Insulate Your Home for Maximum Efficiency
Ever feel like your home is playing weather roulette? Too hot in summer, too cold in winter, and your energy bills look like lottery numbers? You're not alone! The secret to winning this game of temperature tug-of-war lies in knowing exactly where to insulate your home. Let's dive into the cozy world of home insulation – your guide to turning your house into the comfortable haven it should be.
Why Location Matters in Home Insulation
Think of insulation like your home's winter coat – you wouldn't wear just one sleeve, right? Well, picking the right spots to insulate in a home is just as important as having the insulation itself. Let's break it down room by room:
The Big Three Heat-Loss Culprits:
Key areas where your home typically loses heat.
Up High: Your attic space is like a heat magnet. Since warm air naturally rises (thanks, science!), unfinished attic spaces can suck up to 40% of your home's heated air right through the ceiling joists. That's why proper air sealing and attic insulation are such game-changers.
Down Low: Your basement walls and floor joists to seal are basically your home's cold feet. Without good interior basement wall insulation, you're letting the ground chill creep right into your living space. And let’s not get started on floors above unheated garages – talk about cold toes in the morning!
The Middle: Your exterior walls are like the meat in this insulation sandwich. They're fighting the good fight against outside temperatures all day long, which is why adding insulation to wall cavities can make such a huge difference.
But Here's What Makes It Tricky:
Different parts of your home need different approaches. You might need:
Loose fill insulation for those awkward attic corners
Batt insulation where you've got nice straight spaces
Special attention to spaces and unheated garages
Extra care around your foundation walls
Smart solutions for vented crawl spaces
The real secret? It's not just about stuffing insulation everywhere – it's about creating a complete comfort system. This means:
Your house loses heat in different ways all over the place. It's like trying to keep soup hot in a bowl full of tiny holes – you've got to plug all the spots where warmth escapes!
Targeting thermal bridging through wood
Making sure to protect the damp proof coating in basements
Paying attention to air leaks (those sneaky energy thieves!)
Getting that proper air sealing done right
Think about it this way: you wouldn't try to keep a cooler cold by just throwing ice in randomly. You need a good seal, proper placement, and the right amount in the right spots. Your home works the same way!
Want to know something cool? The Department of Energy found that combining the right insulation spots with proper air sealing can slash your energy bills by up to 15%. Now that's what we call a cozy win!
House Insulating Above-Grade Spaces: Starting from the Top
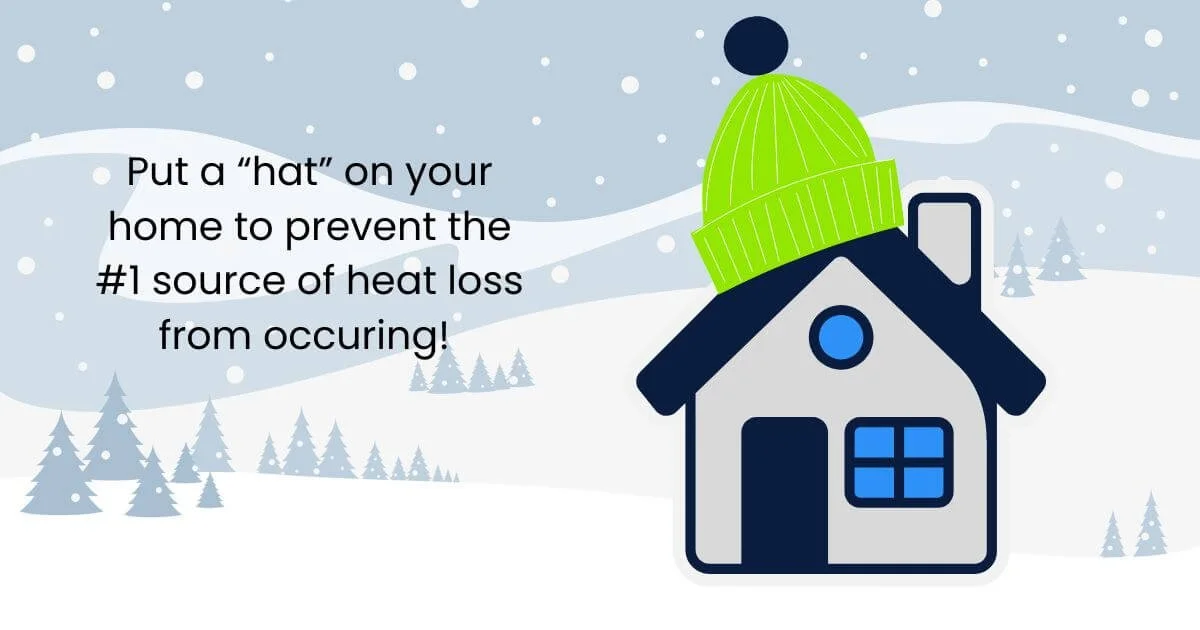
Let's talk about your home's "hat" – everything from your attic space to those tricky cathedral ceilings. This is where the magic happens!
Attic Insulation: Your Home's Top Priority
If your attic is not properly insulated, it's like wearing a winter coat with the zipper open – what's the point? Here's the scoop on getting your attic cozy:
For Unfinished Attic Spaces (The Wild West of Home Insulation):
First things first: insulate unfinished attic spaces between and over floor joists to seal off living spaces below
Want a pro tip? Extend insulation into joist space to reduce air flows. This little trick makes a HUGE difference!
Got stuff stored up there? Make sure to insulate the attic access too – it's often the forgotten culprit of heat loss
For Finished Attic Rooms (Yes, Even Those Dormer Windows):
Insulate between studs of knee walls (those short walls with sloped ceilings behind them)
Don't forget about the space between studs and rafters of exterior walls and roof
Pay special attention to ceilings with unconditioned spaces above – they're sneaky heat thieves!
[Suggested Image: Diagram showing proper insulation placement in knee walls and rafters]
Cathedral Ceiling Insulation: Because Fancy Ceilings Need Love Too
Got those gorgeous sloped ceilings? Nice! But without proper cathedral ceiling insulation, they can be about as energy-efficient as a convertible in winter. Here's how to fix that:
Consider insulating the rafters if you've got limited attic space
Think about adding a layer between roof 2c and ceilings
For optimal energy efficiency, you'll want to ensure consistent coverage from top to bottom
The Materials Matter!
You've got options (because who doesn't love options?):
Loose-fill insulation: Great for those odd nooks and crannies
Batt insulation: Perfect for standard-sized spaces between attic rafters
Two-part spray foam: When you need the heavy-duty stuff
Pro Tips for Above-Grade Success:
Always (and we mean ALWAYS) seal those pesky air leaks before adding any insulation
Take care around any electrical boxes or recessed lights
Make sure you're not blocking any ventilation – your attic needs to breathe too!
If you see any daylight peeking through, that's a red flag for air leakage
A Quick Note About Storage:
Planning to use your attic for storage? No problem! Just remember to:
Install platforms above the insulation for storage areas 3b foundation walls
Keep clear paths to any HVAC equipment
Never compress your insulation – squished insulation is sad insulation!
Remember, when it comes to above-grade insulation, gravity is both your friend and enemy. Heat naturally rises, so these upper areas of your home are super important to get right. Think of it as putting a lid on your home's comfort!
Insulating Below-Grade Spaces: The Foundation of Comfort
Let's head downstairs and talk about the "basement" of home comfort (see what we did there?). These spaces might be out of sight, but they shouldn't be out of mind!
Insulating Floors Above Unheated Garages: Because Cold Feet Aren't Fun
Ever done the morning dance across a freezing floor? Not fun, right? When it comes to insulating floors above unheated garages, we've got some tricks up our sleeve:
The Layer Cake of Comfort:
Pro tip: Those unheated garages, shed roofs, or storage spaces below your living area can be real party poopers when it comes to comfort.
First layer: Install an air barrier (because cold air is sneaky!)
Middle layer: Add your insulation materials
Top layer: Ensure your subfloor is properly sealed
Here's why proper insulation matters:
Stops that cold air from "short circuiting" your cozy living space
Keeps your feet warm (happy feet = happy humans!)
Helps prevent those nasty freezing pipe situations
Interior Basement Wall Insulation: Your Underground Defense System
Your basement walls are like the frontline troops in the battle against cold and moisture. Let's get them properly equipped!
The Right Way to Insulate Basement Walls:
Start with walls in heated basements (because that's where you're actually trying to keep warm!)
Use either foam board (great for moisture control) or fiberglass batts
Consider those fancy insulating concrete forms if you're doing new construction
Don't forget about insulating concrete blocks - they're important too!
Moisture: The Sneaky Enemy
Here's something most folks don't think about: protecting the damp proof coating is super important. Why? Because moisture in basements is like that uninvited party guest – once it shows up, it's hard to get rid of!
The Special Case of Foundation Walls Above Ground
You know that part of your foundation that peeks out above the ground? That needs special attention too! For foundation walls above ground:
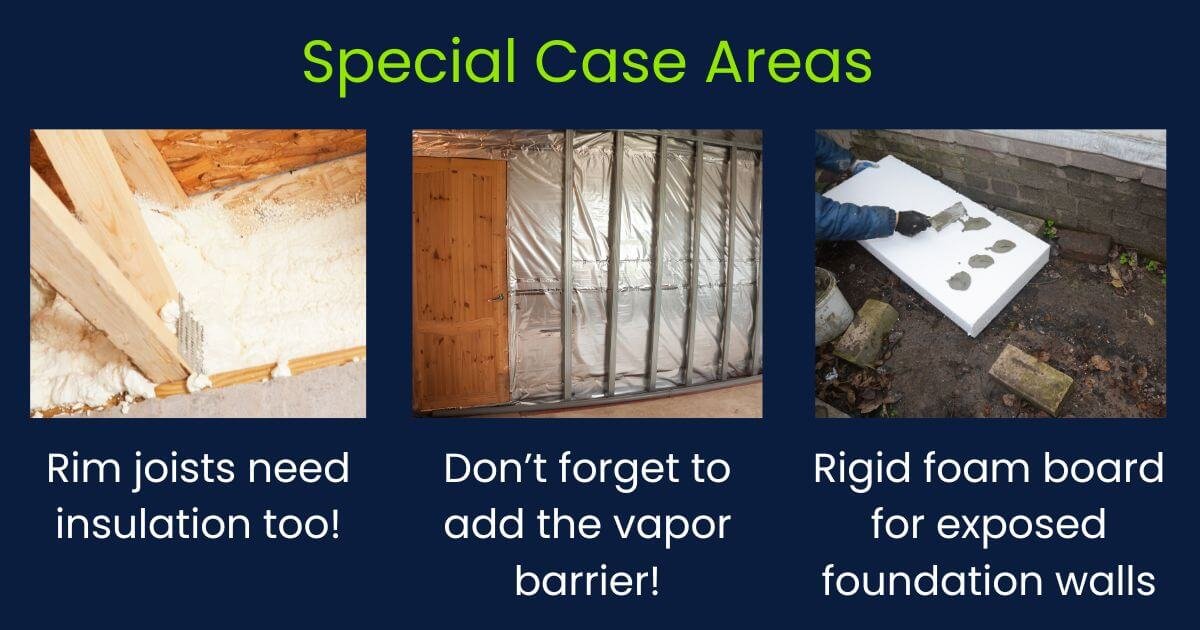
Add rigid foam board insulation
Make sure you've got proper drainage
Consider the R-value needed for your climate zone
Common Mistakes to Avoid:
Skipping the vapor barrier (big no-no!)
Forgetting about rim joists (those sneaky heat escape artists)
Not dealing with water issues before insulating (talk about a waste of time!)
Fun fact: A properly insulated basement can save you up to 20% on your heating bills! That's like getting a week of free Netflix for every month of the year (okay, maybe that's not the best comparison, but you get the idea!).
Foundation and Exterior Wall Solutions: Your Home's Shield
Think of this as your home's armor - it's got to be tough! Let's break down how to protect your castle from the ground up.
Slab-on-Grade Insulation: Ground Zero for Comfort
Ever heard someone say "it's cold as the ground?" Well, without proper slab-on-grade insulation, that's literally what you're dealing with! Here's the scoop:
The Ground Game Plan:
Start with the exterior edge (that's your first line of defense!)
Use foam board insulation - it's like a cozy blanket for your concrete
Remember: what works in Florida won't cut it in Bear Lake Valley!
Pro tip: If you're doing new construction, install that insulation BEFORE backfilling. Trust us, your future self will thank you!
Exterior Wall Insulation: Your Home's Comfy Sweater
Is your home still feeling drafty even though you've got decent attic insulation? Your wall cavities might be crying out for help! Here's what you need to know about exterior wall insulation:
Signs You Need Wall Insulation:
High energy bills (duh!)
Walls that feel cold to the touch
Rooms that are always colder or hotter than the rest
Ice dams forming on your roof (sneaky wall heat loss at work!)
The Wall Insulation Game Plan:
Check those wall cavities first
Consider options like:
Blown-in insulation (great for existing walls)
Batt and roll insulation (perfect for new construction)
Two-part spray foam (the heavyweight champion of insulation)
Level-by-Level Breakdown
Level 3c Foundation Walls
Starting from the ground level, 3c foundation walls need special attention:
Use waterproof insulation materials
Don't forget about those ground level 3c foundation areas
Pay extra attention to where foundation meets framing
Storage Areas 3b Foundation Walls
For those areas 3b foundation walls near storage spaces:
Ensure proper ventilation
Use moisture-resistant materials
Don't block access to important utilities
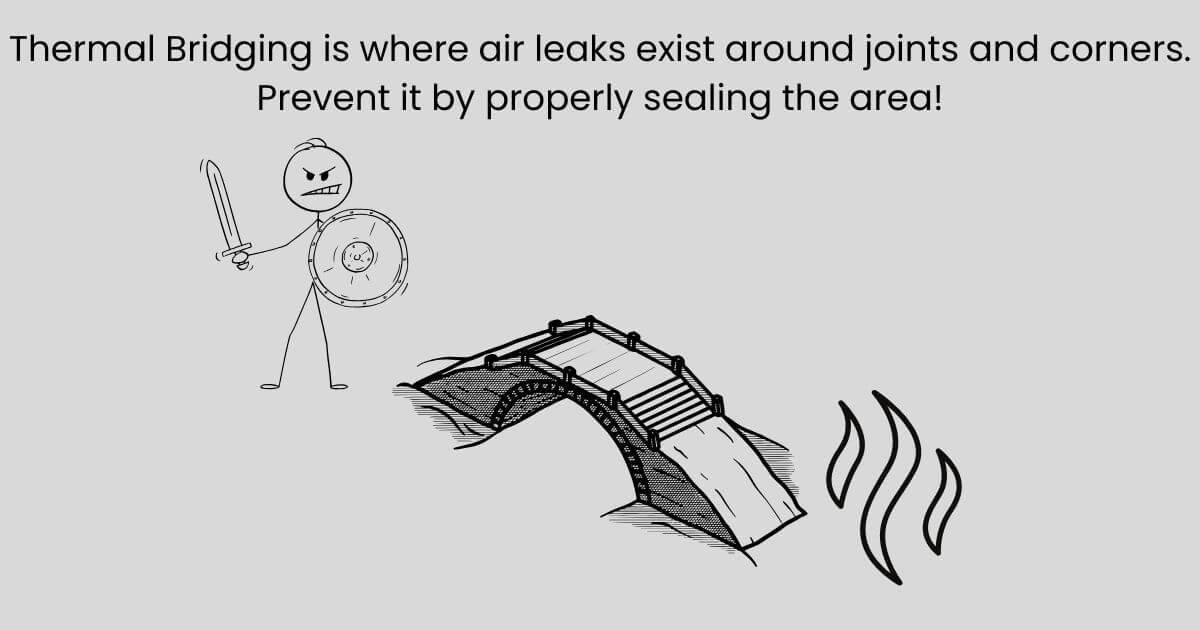
The Secret Sauce: Thermal Bridging
Don’t let heat and air cross over into unwanted spaces!
Here's something most folks don't think about: thermal bridging through wood framing is like having tiny heat highways running through your walls! To stop this sneaky heat thief:
Use continuous insulation where possible
Pay attention to corners and joints
Don't forget about wood framing connections
Smart Insulation Strategies: Beyond the Basics
Let's get clever about keeping your home cozy! It's not just about stuffing insulation everywhere - it's about working smarter, not harder.
Targeting Air Leaks: The Money Thieves
Remember that game at the carnival where you try to catch dollar bills in a wind tunnel? That's basically what's happening in your home if you've got air leaks! Here's where to look:
The Usual Suspects:
Around windows (especially old ones - they're notorious troublemakers!)
Door frames (the welcome mat for cold air)
Spots where different materials meet
Anywhere pipes or wires enter your home
That attic hatch you rarely think about
Pro tip: Want to find air leaks like a pro? Try the "wet hand test" on a windy day - you'll feel those drafts like a DIY detective!
The Right Materials for the Right Spaces
Just like you wouldn't wear a swimsuit in winter (unless you're really brave), different areas of your home need different types of insulation.
Your Insulation Wardrobe:
Loose Fill Insulation (The Comfort Chameleon)
Perfect for unfinished attic spaces
Great for weird nooks and crannies
Makes friends with irregular joist spacing
Batt Insulation (The Reliable Regular)
Ideal for standard wall cavities
Great for that space to reduce air movement
Works well between floor joists to seal off living areas
Blanket Batt and Roll (The Easy-Going Option)
Perfect for long, unobstructed spaces
Great for DIY warriors
Plays nice with standard-sized spaces
Two Part Spray Foam (The Heavy Hitter)
Perfect for those tricky spots
Great at insulate and air seal in one go
The superhero of air leak prevention
Location, Location, Location!
Just like real estate, insulation success is all about location. Here's where to focus:
Priority Areas:
Between heated and unheated spaces
Around vented crawl spaces
Anywhere you've got cathedral ceilings
That space between your living room and garage
Money-Saving Secrets
Here's something cool: combining proper air sealing with the right insulation can slash your energy bills by up to 30%! That's like getting back a whole month of heating costs!
Cost-Cutting Tips:
Focus on attic insulation first (biggest bang for your buck!)
Don't forget to insulate and air seal at the same time
Take advantage of seasonal energy efficiency rebates
Think long-term - good insulation is like a savings account that pays you back every month
Common Goofs to Avoid
We've seen some... interesting DIY attempts over the years. Here's what NOT to do:
Don't squish insulation into tight spots (it needs its personal space!)
Never block soffit vents (your attic needs to breathe!)
Don't forget about proper air sealing (insulation isn't an air barrier!)
Never cover can lights with insulation (unless you're going for that "indoor fireplace" look - which we don't recommend!)
Make Your Home a Cozy Haven
We've taken quite the journey through your home's insulation needs - from unfinished attic spaces all the way down to those foundation walls! Let's wrap this up with some cozy wisdom.
Your Comfort Checklist
Before you head off to tackle your insulation project, remember these key points:
Start up high with proper attic insulation and air sealing
Don't forget those sneaky spaces above unheated garages
Give those foundation walls the attention they deserve
Remember: interior basement wall insulation is your friend
Always extend insulation into joist space properly
Don't let another season go by wrestling with uncomfortable rooms and sky-high energy bills. Here's how to get started:
Schedule your free insulation assessment
Get a customized plan for your home
Enjoy the cozy comfort you deserve
Remember: Your home's comfort is our passion. Let's make your house the coziest spot in the Bear Lake Valley-one properly insulated space at a time!


